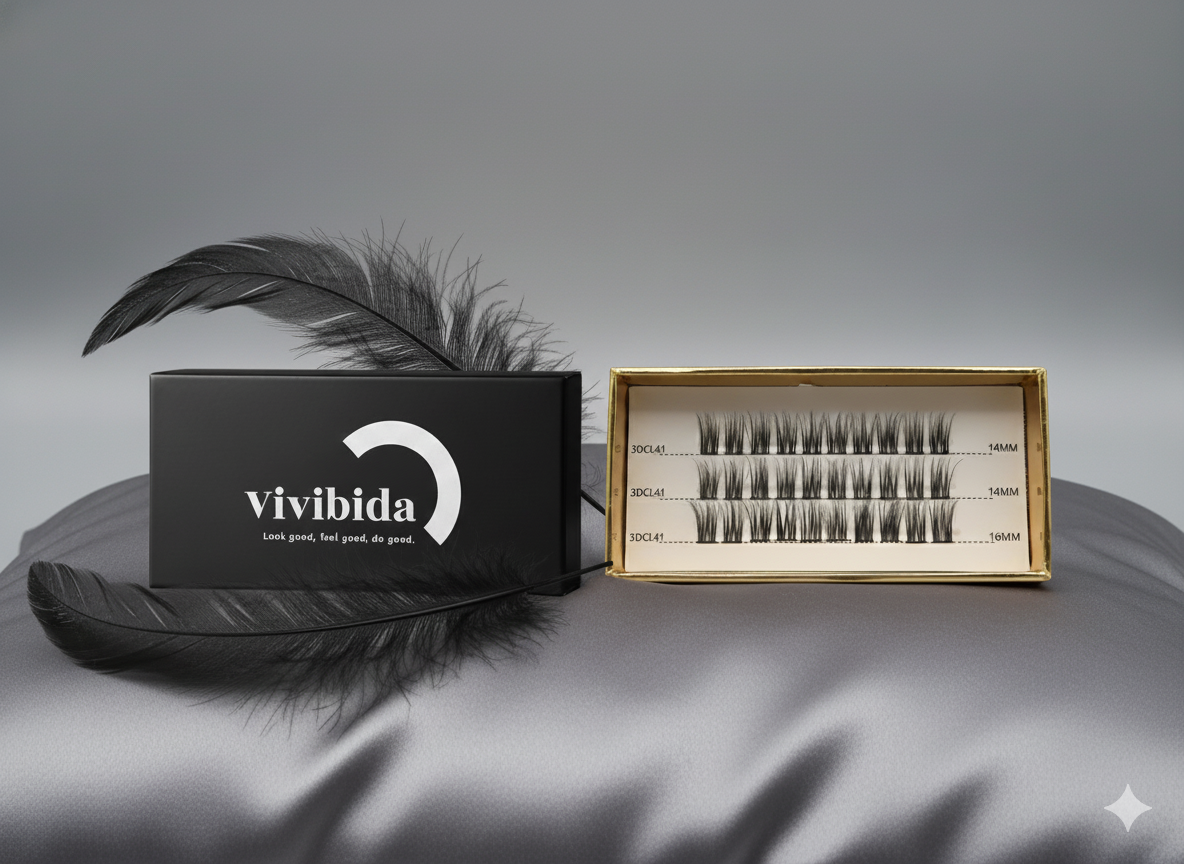
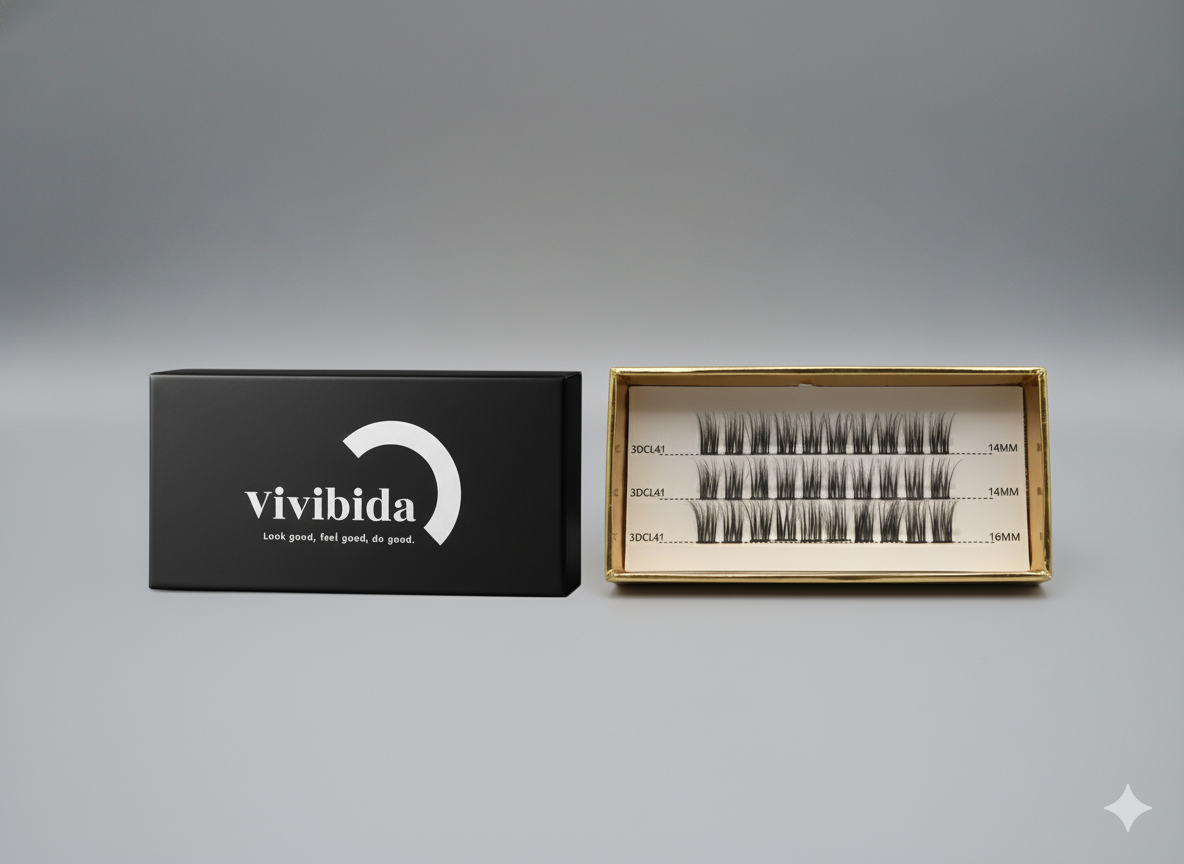
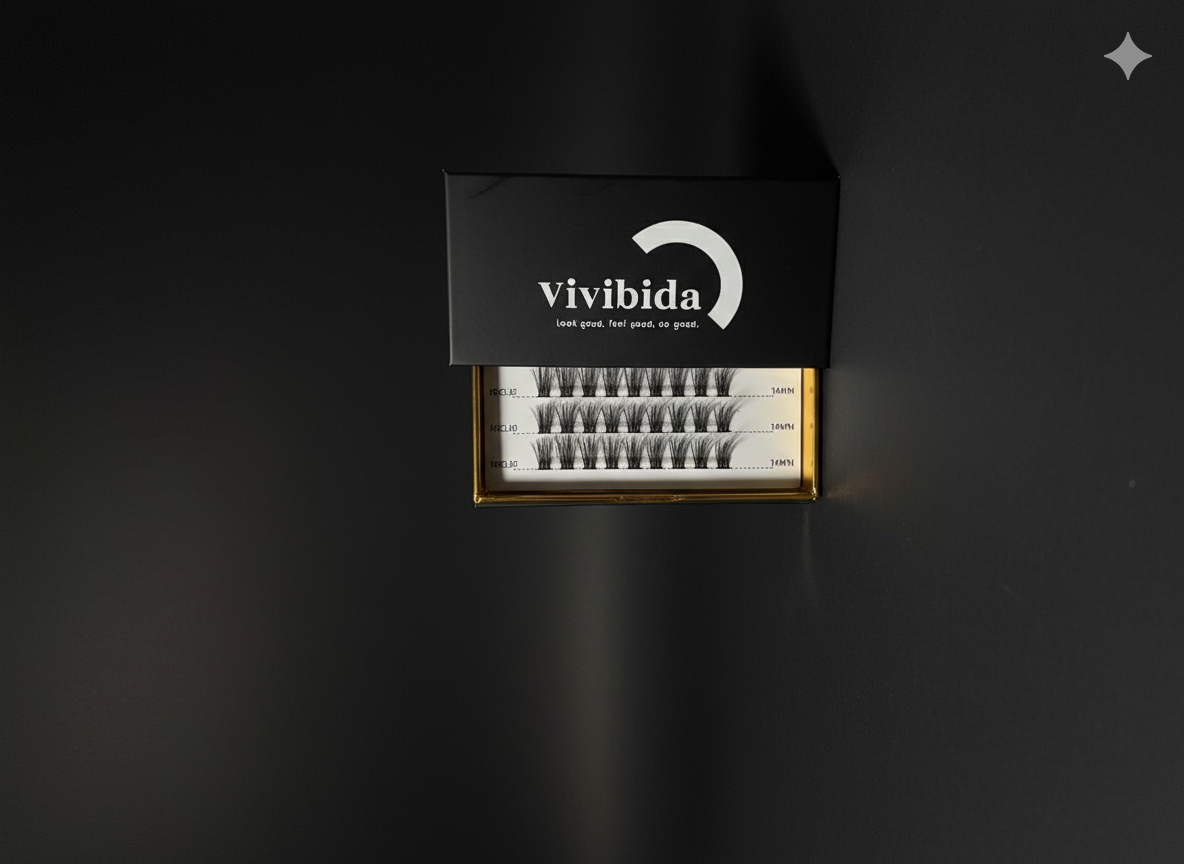
Vivibida
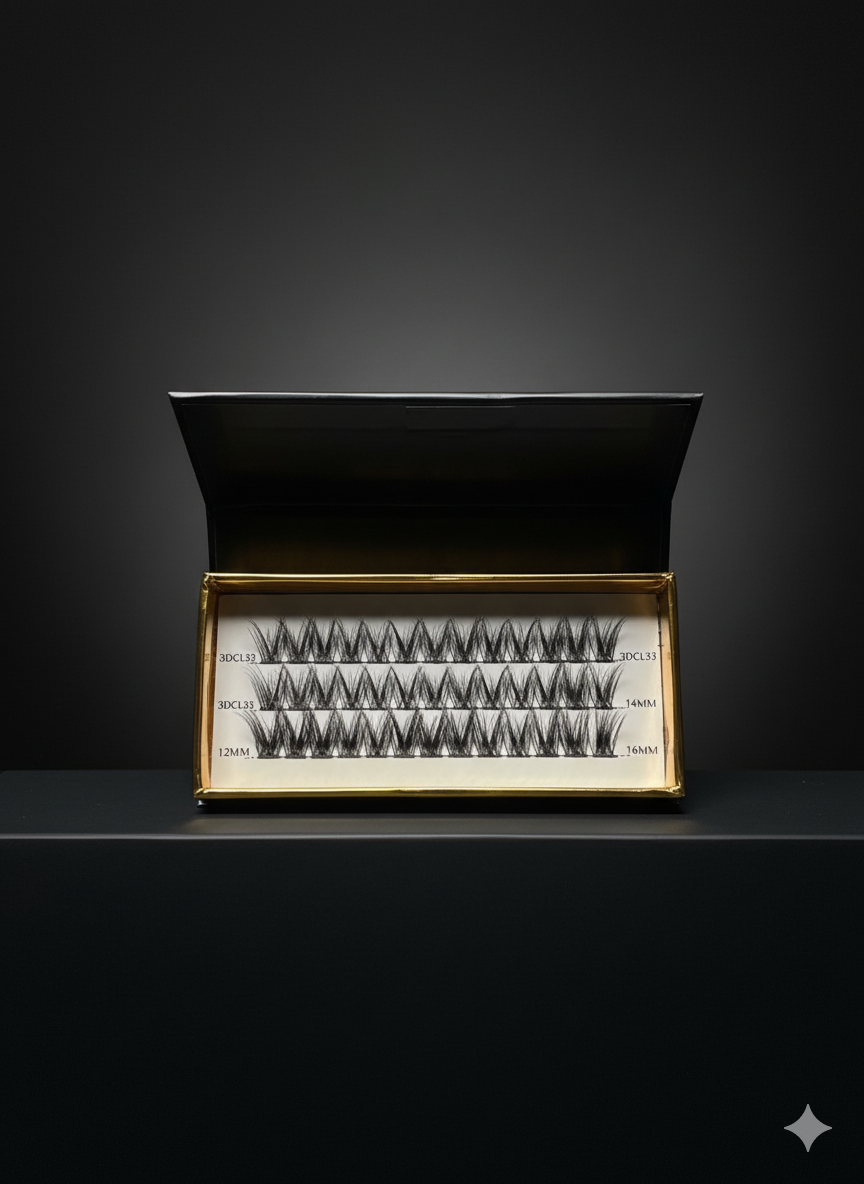
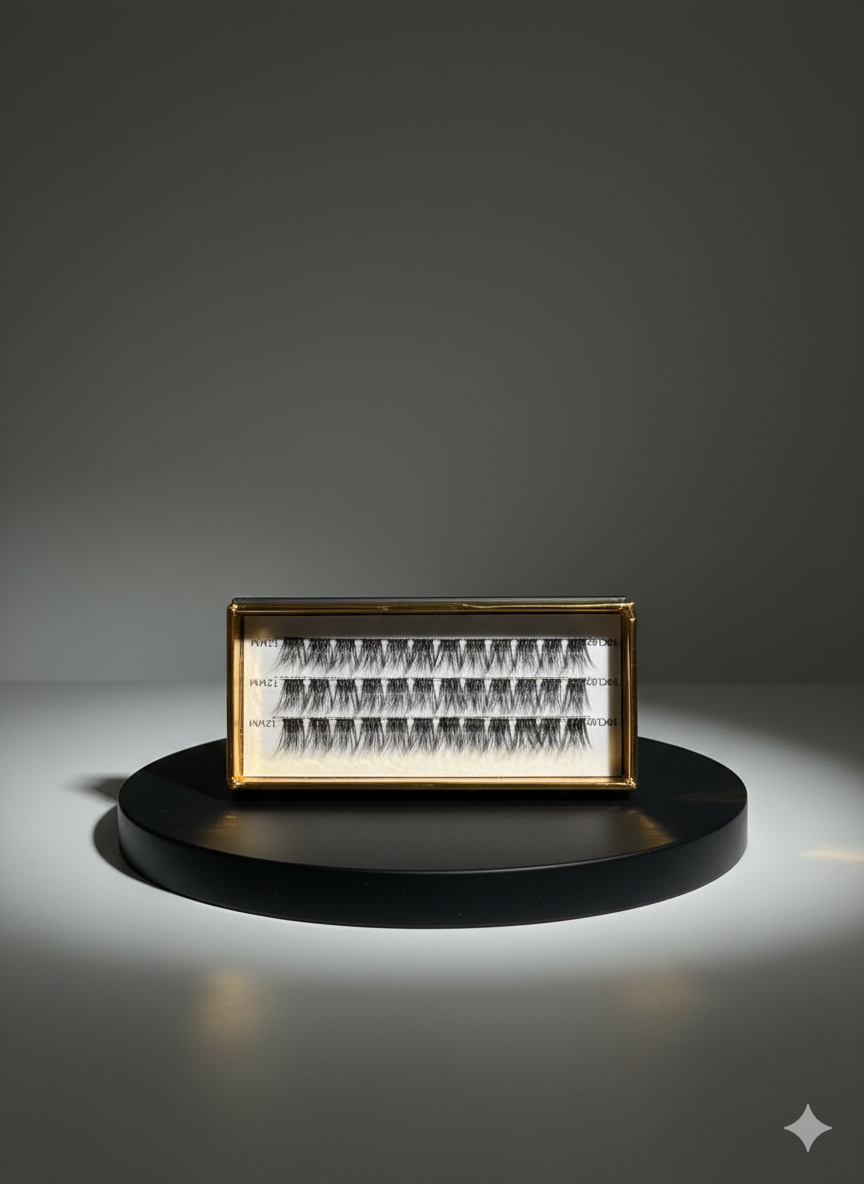
Cat Eye Lashes Clusters
Cat Eye Lashes Clusters
Couldn't load pickup availability
About this item
Flawless DIY Cat Eye Lash Clusters - Achieve a Stunning, Lifted Look at Home
Transform your eyes with our premium Cat Eye Lash Clusters! Designed for the perfect winged effect, these DIY lash extensions give you that coveted, seductive cat-eye look without the salon price or hassle.
Why You'll Love Our Cat Eye Cluster Lashes:
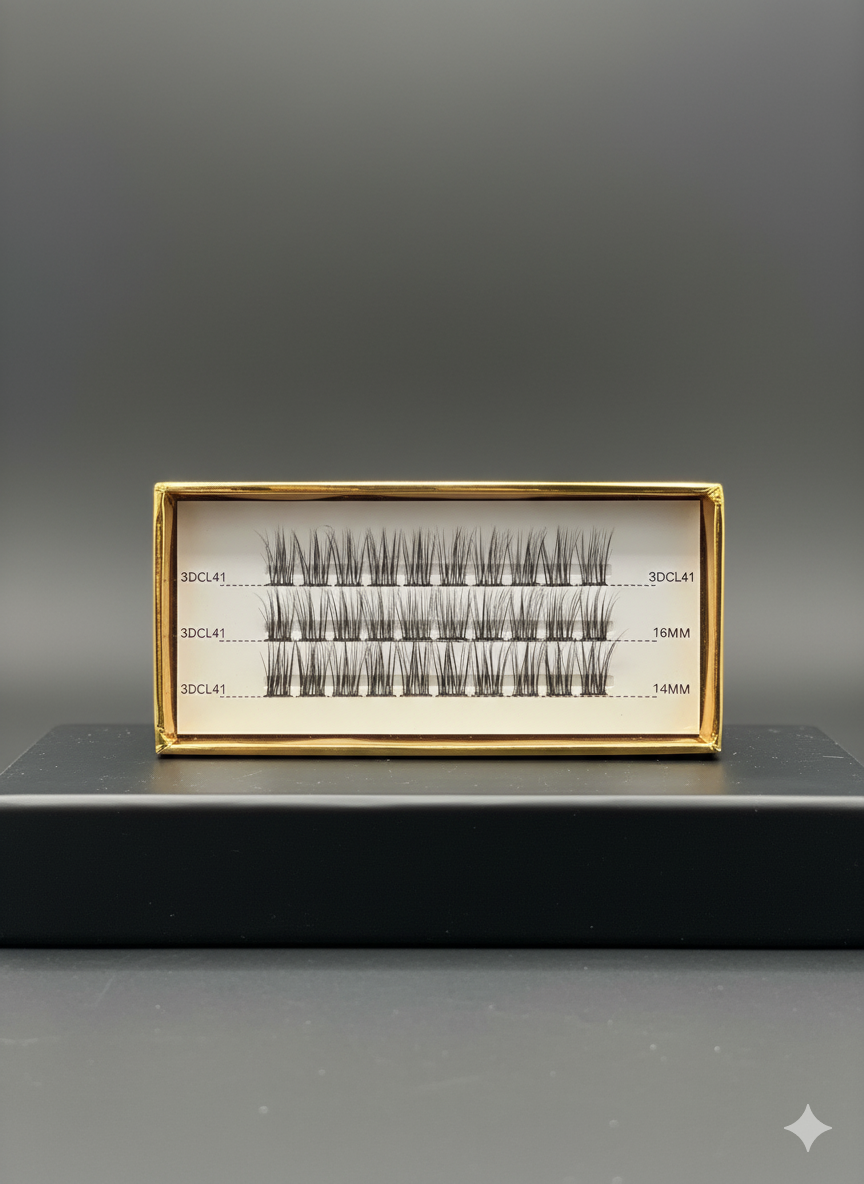
- Sultry Cat Eye Effect: Featuring expertly pre-mapped lengths that are shorter in the inner corner and gradually lengthen towards the outer edge, creating a beautiful winged, fox-eye lift that makes eyes look elongated, wider, and more alluring.
- Easy DIY Application: Skip the lengthy salon appointment! Our cluster lashes are designed for simple, at-home application. Perfect for both beginners and experienced lash users looking for a fast, customizable lash look.
- Lightweight & Comfortable: Crafted from premium, feather-light fibers that mimic the look and feel of natural lashes. You'll barely notice they're there, ensuring comfortable all-day and all-night wear.
- Customizable Volume: The segmented individual lashes allow you to control the fullness. Place clusters strategically to add volume and length exactly where you want it for a subtle enhancement or a dramatic, wispy lash finish.
- Seamless Blend: Designed with a clear, flexible band to blend seamlessly with your natural lash line, giving you a smooth, professional, natural look finish.
- Long-Lasting Wear: When paired with a quality lash bond, these at-home eyelash extensions can offer a beautiful, lasting wear (often 3-7 days), making them a cost-effective alternative to full salon extensions.
Perfect for: Round eyes, almond eyes, hooded eyes, or anyone looking to add an elegant, lifted flair to their makeup routine. Get that salon-quality lash look at your fingertips!
How to Use
Applying eyelash strips takes a little practice, but following these steps will help you achieve a seamless, professional look.
Here is a step-by-step guide on how to put on standard strip eyelashes:
Step 1: Prep Your Natural Lashes
- Curl (Optional): Gently curl your natural lashes using an eyelash curler. This helps them blend better with the false lashes.
- Mascara (Recommended): Apply one thin coat of mascara to your natural lashes. This provides a base for the false lashes to sit on and helps them blend.
- Apply Eye Makeup: Complete all other eye makeup (eyeshadow, eyeliner) before applying the strip lash. A thin line of liquid or gel eyeliner along your lash line can act as a guide for placement.
Step 2: Measure and Trim the Strip
- Carefully Remove: Gently peel the lash strip from the tray using your fingers or tweezers.
- Measure: Hold the strip up to your eyelid and align the band with your natural lash line. The strip should start where your natural lashes begin (usually a few millimeters from the inner corner) and should not extend past your outer corner.
- Trim: If the lash band is too long, use your small scissors to trim from the outer end only. Trim a tiny bit at a time, check the fit, and repeat until it's the perfect length.
- Flex (Optional): Bend the lash strip into a "U" shape a few times. This helps soften the band and mold it to the natural curve of your eye, preventing the ends from lifting later.
Step 3: Apply Lash Glue
- Apply Glue: Apply a thin, even layer of lash adhesive along the entire length of the lash band.
- Extra on Ends: Apply a small extra dot of glue to the inner and outer corners of the band—these are the areas most likely to lift.
- WAIT! (The Most Important Step): Let the glue set for 30 to 60 seconds until it becomes tacky and semi-transparent (if using clear glue). Do NOT apply the lash strip while the glue is wet and slick, or it will slip and make a mess. Tacky glue holds best.
Step 4: Placement
- Position Your View: Look downward into a mirror (placing it on a counter works well). This angle makes it easier to see your lash line.
- Center First: Using your tweezers or applicator tool, grasp the lash strip by the center. Gently place the center of the lash band onto your eyelid, as close to your natural lash line as possible.
- Secure Corners: Once the center is secure, use your tool or fingertips to press down the outer corner, followed by the inner corner. The band should sit on your eyelid, right above your natural lashes.
- Adjust: Make small adjustments to ensure the lash band follows the curve of your eyelid from corner to corner.
Step 5: Seal and Blend
- Press and Secure: Once the lash strip is in the correct position, gently use the flat side of your tweezers or applicator to press the false lash band down onto your natural lash line. This helps them bond securely.
- Blend (Optional): After the glue has dried completely, apply a final thin line of black liquid or gel eyeliner along the lash band to hide any visible glue or camouflage the strip.
- Final Blend (Optional): Gently pinch your natural lashes and the false lashes together at the base using a clean pair of tweezers or a lash curler. This fuses them together for a flawless, natural transition.
Repeat all steps for the other eye!
Ingredients
Mink Fur
Shipping & Returns
▪️ Flexible Shipping rates starting from $4.90
▪️ Free Shipping on U.S. orders over $100.
▪️ USA delivery within 5-7 business days!
Returns
We want to ensure your complete satisfaction so we will happily accept returns in accordance with our Return Policy: Return Policy.